Dining Services staff members who have been previously granted editing access can authenticate to The Dash and manage the current day’s menu, and/or manage future menus. When authenticated to the Dash these staff members will find editing options alongside the standard dining menus.
Getting Started
Prior to updating menu information, editors will need to perform the one-time task of subscribing to the individual Google Calendars associated with the dining services location they intend to manage. If an editor is responsible for managing the menus for multiple locations, they’ll need to ensure that they’ve subscribed to each individual calendar.
Subscribing to Calendars (One-time Prerequisite for Editors)

Managing Dining Menus Through The Dash
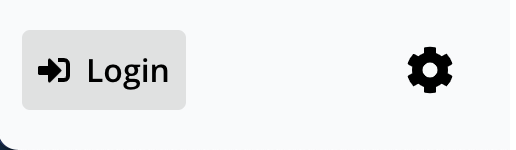
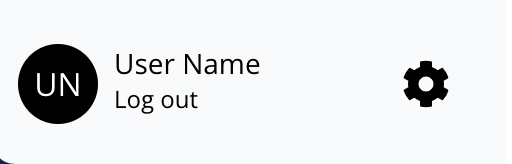
There are several methods available for managing dining menus through The Dash. Each of the options outlined below will require that you first log in:
Additionally, you’ll need to be logged into your Swarthmore Google Workspace account. The easiest way to ensure that you're logged in is to authenticate to your Swarthmore Gmail account.
Opening the Calendar View Modal Window
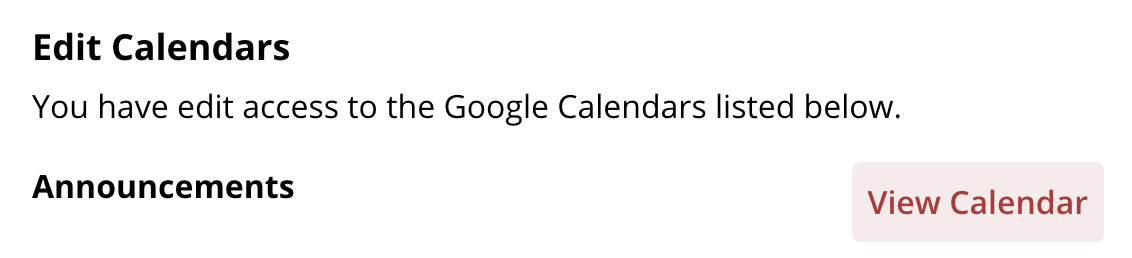
Option 1: Using the options found in the Menus section
- If a location has upcoming Google Calendar events scheduled for that day and you have editing access to the calendar, you should see two buttons, Edit [NAME OF EVENT] and Edit Calendar.
- To edit the specific menu you currently see next to these buttons:
- Click the Edit [NAME OF EVENT] button.
- This will take you to the Google Calendar event, where you can modify the event as needed and save.
- The updated information should display on The Dash shortly after saving.
- To manage or schedule future events:
- Click the Edit Calendar button.
- From here you can edit existing events by clicking the Edit [NAME OF EVENT] button associated with a given event or schedule a new event by clicking the green Create New Event button. In both cases you will be taken to the standard Google Calendar editing screen where you may update or create your event.
- Save the event.

Option 2: Using the Settings Modal

Editing and Creating Dining Menu Events
With the calendar view modal window open, you can now begin to manage your menu events.
Editing an Existing Event or Event Series
- Navigate to the specific event you’d like to edit.
- Click on the event to display its details. Then click the Edit [NAME OF EVENT] button.
- This will take you to the Google Calendar event, where you can begin to modify the event.
- Set the menu event’s start and end times so that they reflect the location/meal's hours of operation.

- Save the event by clicking the blue Save button.
- This event
- This and following events
- All events
- If the event is part of a series it will ask you if you wish to edit:
- Make the appropriate choice for your edit.
- The updated information should display on The Dash shortly after saving.
Creating a New Event or Event Series
- Click on the green Create New Event button. This will initiate the process of creating a new Google Calendar event in whichever calendar you are currently viewing.

- Set the event’s start and end times so that they reflect the location/meal's hours of operation.

- Optionally, create a recurring event series by clicking the dropdown that reads “Does not repeat” and setting a recurring schedule for the event. This will be useful for quickly setting up standard meals of operation.
- The updated information should display on The Dash shortly after saving.
Suggested Formatting of Dining Menu Copy
Enter menu copy in a format similar to the example below.
| Dining Menu Copy as Entered in Google Calendar | Rendered Dining Menu Copy |
|---|---|
Soups Main Entrees Fajita Bar Dessert |
|

Including Dietary Labels in Menus
The Dash allows Dining Services to easily include dietary labels throughout menu content. The Dash automatically transforms the following text strings into friendly labels if it finds them in a dining menu's calendar event:
| Dietary Label Token | Rendered Dietary Label |
|---|---|
::gluten-free:: |
|
| ::halal:: |
|
| ::kosher:: |
|
| ::vegan:: |
|
| ::vegetarian:: |
|


Anything accidentally added to these calendars WILL display on The Dash. For this reason we recommend sticking to The Dash interface for all but those who consider themselves extremely familiar with Google Calendar. Additionally, we’d like to remind folks that it’s a best practice to log out prior to leaving your computer unattended.Directly Managing events through Google Calendars
Dining Services staff members who have been previously granted editing access can authenticate to The Dash and manage the current day’s menu, and/or manage future menus. When authenticated to the Dash these staff members will find editing options alongside the standard dining menus.
Getting Started
Prior to updating menu information, editors will need to perform the one-time task of subscribing to the individual Google Calendars associated with the dining services location they intend to manage. If an editor is responsible for managing the menus for multiple locations, they’ll need to ensure that they’ve subscribed to each individual calendar.
Subscribing to Calendars (One-time Prerequisite for Editors)
Managing Dining Menus Through The Dash
There are several methods available for managing dining menus through The Dash. Each of the options outlined below will require that you first log in:
Additionally, you’ll need to be logged into your Swarthmore Google Workspace account. The easiest way to ensure that you're logged in is to authenticate to your Swarthmore Gmail account.
Opening the Calendar View Modal Window
Option 1: Using the options found in the Menus section
- If a location has upcoming Google Calendar events scheduled for that day and you have editing access to the calendar, you should see two buttons, Edit [NAME OF EVENT] and Edit Calendar.
- To edit the specific menu you currently see next to these buttons:
- Click the Edit [NAME OF EVENT] button.
- This will take you to the Google Calendar event, where you can modify the event as needed and save.
- The updated information should display on The Dash shortly after saving.
- To manage or schedule future events:
- Click the Edit Calendar button.
- From here you can edit existing events by clicking the Edit [NAME OF EVENT] button associated with a given event or schedule a new event by clicking the green Create New Event button. In both cases you will be taken to the standard Google Calendar editing screen where you may update or create your event.
- Save the event.

Option 2: Using the Settings Modal
Editing and Creating Dining Menu Events
With the calendar view modal window open, you can now begin to manage your menu events.
Editing an Existing Event or Event Series
- Navigate to the specific event you’d like to edit.
- Click on the event to display its details. Then click the Edit [NAME OF EVENT] button.
- This will take you to the Google Calendar event, where you can begin to modify the event.
- Set the menu event’s start and end times so that they reflect the location/meal's hours of operation.
- Save the event by clicking the blue Save button.
- This event
- This and following events
- All events
- If the event is part of a series it will ask you if you wish to edit:
- Make the appropriate choice for your edit.
- The updated information should display on The Dash shortly after saving.
Creating a New Event or Event Series
- Click on the green Create New Event button. This will initiate the process of creating a new Google Calendar event in whichever calendar you are currently viewing.

- Set the event’s start and end times so that they reflect the location/meal's hours of operation.
- Optionally, create a recurring event series by clicking the dropdown that reads “Does not repeat” and setting a recurring schedule for the event. This will be useful for quickly setting up standard meals of operation.
- The updated information should display on The Dash shortly after saving.
Suggested Formatting of Dining Menu Copy
Enter menu copy in a format similar to the example below.
| Dining Menu Copy as Entered in Google Calendar | Rendered Dining Menu Copy |
|---|---|
Soups Main Entrees Fajita Bar Dessert |
|
Including Dietary Labels in Menus
The Dash allows Dining Services to easily include dietary labels throughout menu content. The Dash automatically transforms the following text strings into friendly labels if it finds them in a dining menu's calendar event:
| Dietary Label Token | Rendered Dietary Label |
|---|---|
::gluten-free:: |
|
| ::halal:: |
|
| ::kosher:: |
|
| ::vegan:: |
|
| ::vegetarian:: |
|
Anything accidentally added to these calendars WILL display on The Dash. For this reason we recommend sticking to The Dash interface for all but those who consider themselves extremely familiar with Google Calendar. Additionally, we’d like to remind folks that it’s a best practice to log out prior to leaving your computer unattended.Directly Managing events through Google Calendars