This section covers adding images to your website. Swarthmore webpage are setup to allow editors to quickly and easily add a image at the top of any given webpage. This location is called the Primary Image and is the most common method for adding images to a webpage.,
Editors can also choose to add an image in the body copy region of the page. This option involves a few more steps, but it allows editors to add images at any location with the body copy block.
Images can also be added through one of the many components available to editors. This is covered in the Components section.
A website homepage’s also offers some additional options that include allowing editors the ability to include two images or a large full-span image.
NOTE: Drupal does not have any built-in image editing capabilities. Any image related work (cropping, resizing, color-correcting, and saving images in the proper format) needs be done in your preferred photo editing software such as Adobe Photoshop (which is supported by ITS) or one of the free online photo editors which you can also use such as Canva or Pixlr.
6.1) Adding a Primary Image
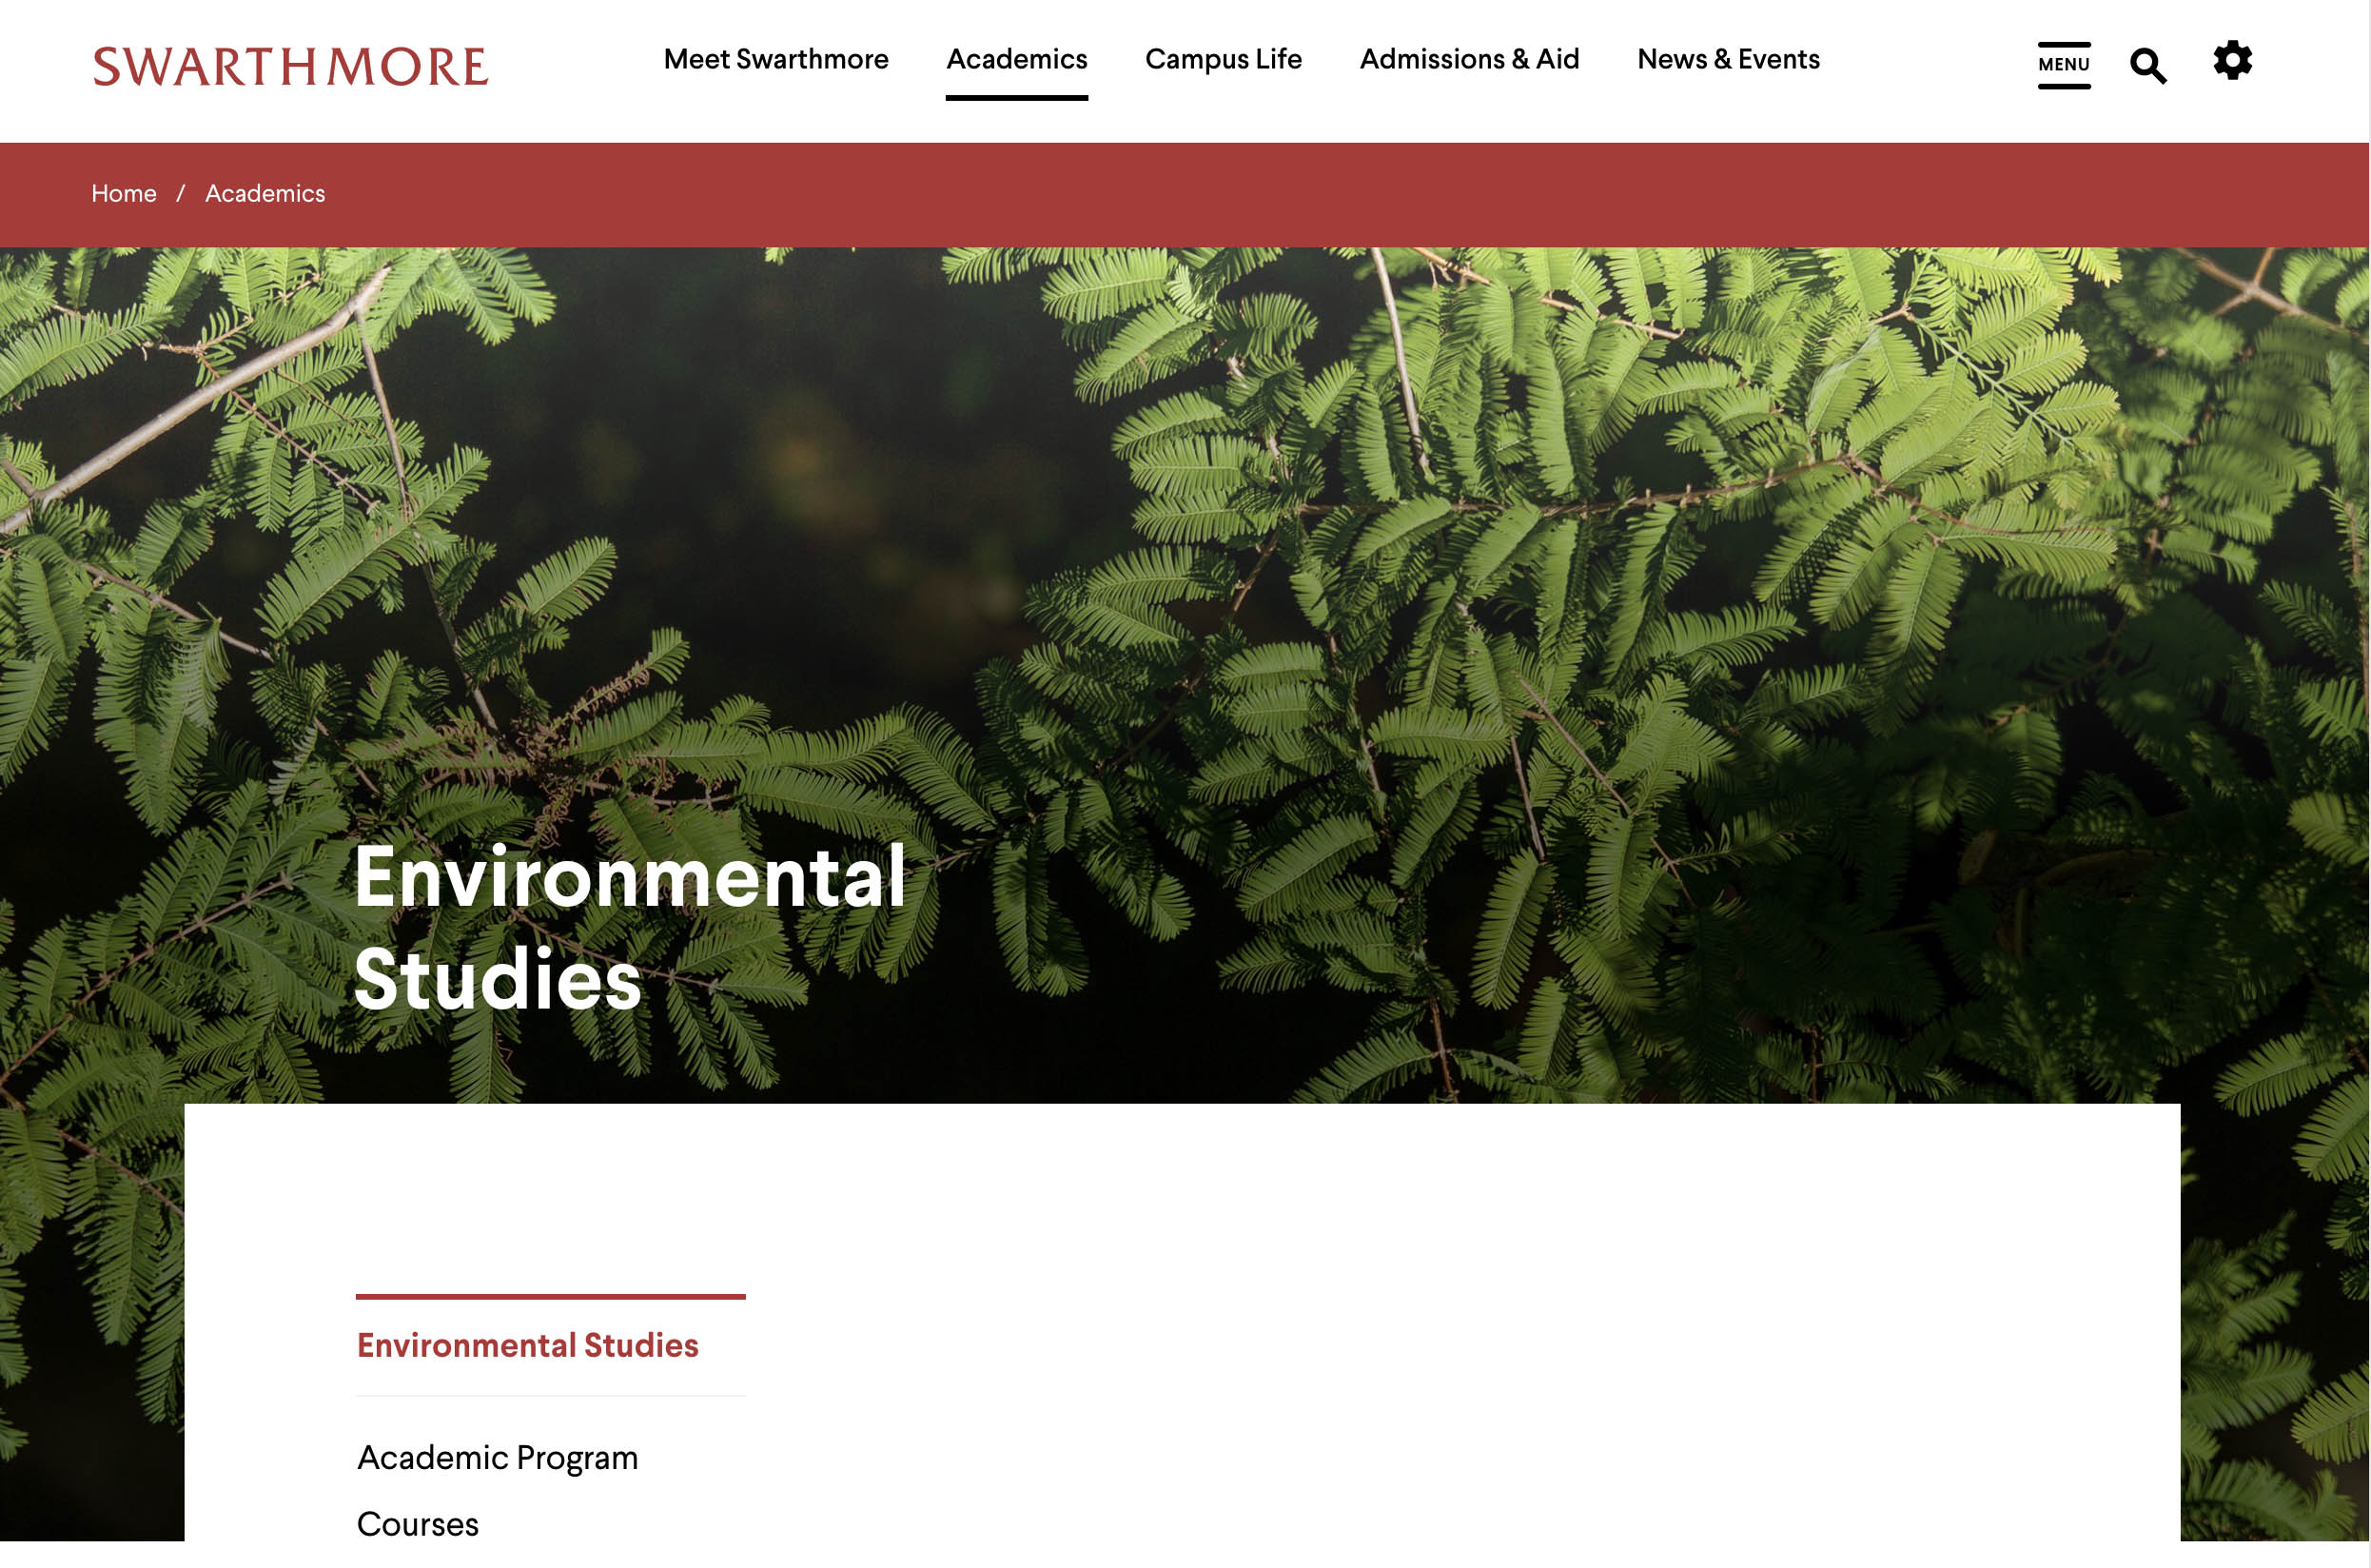
The Primary Image that is located below Title/Subtitle and above Body block. This is where editors add images at the top of the webpage.
Click the Insert an Image button to begin. A new window will appear called “Insert an Image”.

In the Insert an Image window (see below), you can select Upload Image to upload a new image into Drupal or choose Select Image if you wish to use an image that has been previously uploaded into the website’s image folder.
Select the appropriate image from the list using the radio button to the left.
Then click the Select Image button located in the lower left corner.

A thumbnail will now appear in the Preview. Whenever you add an image to a webpage, you MUST INCLUDE alternative text.
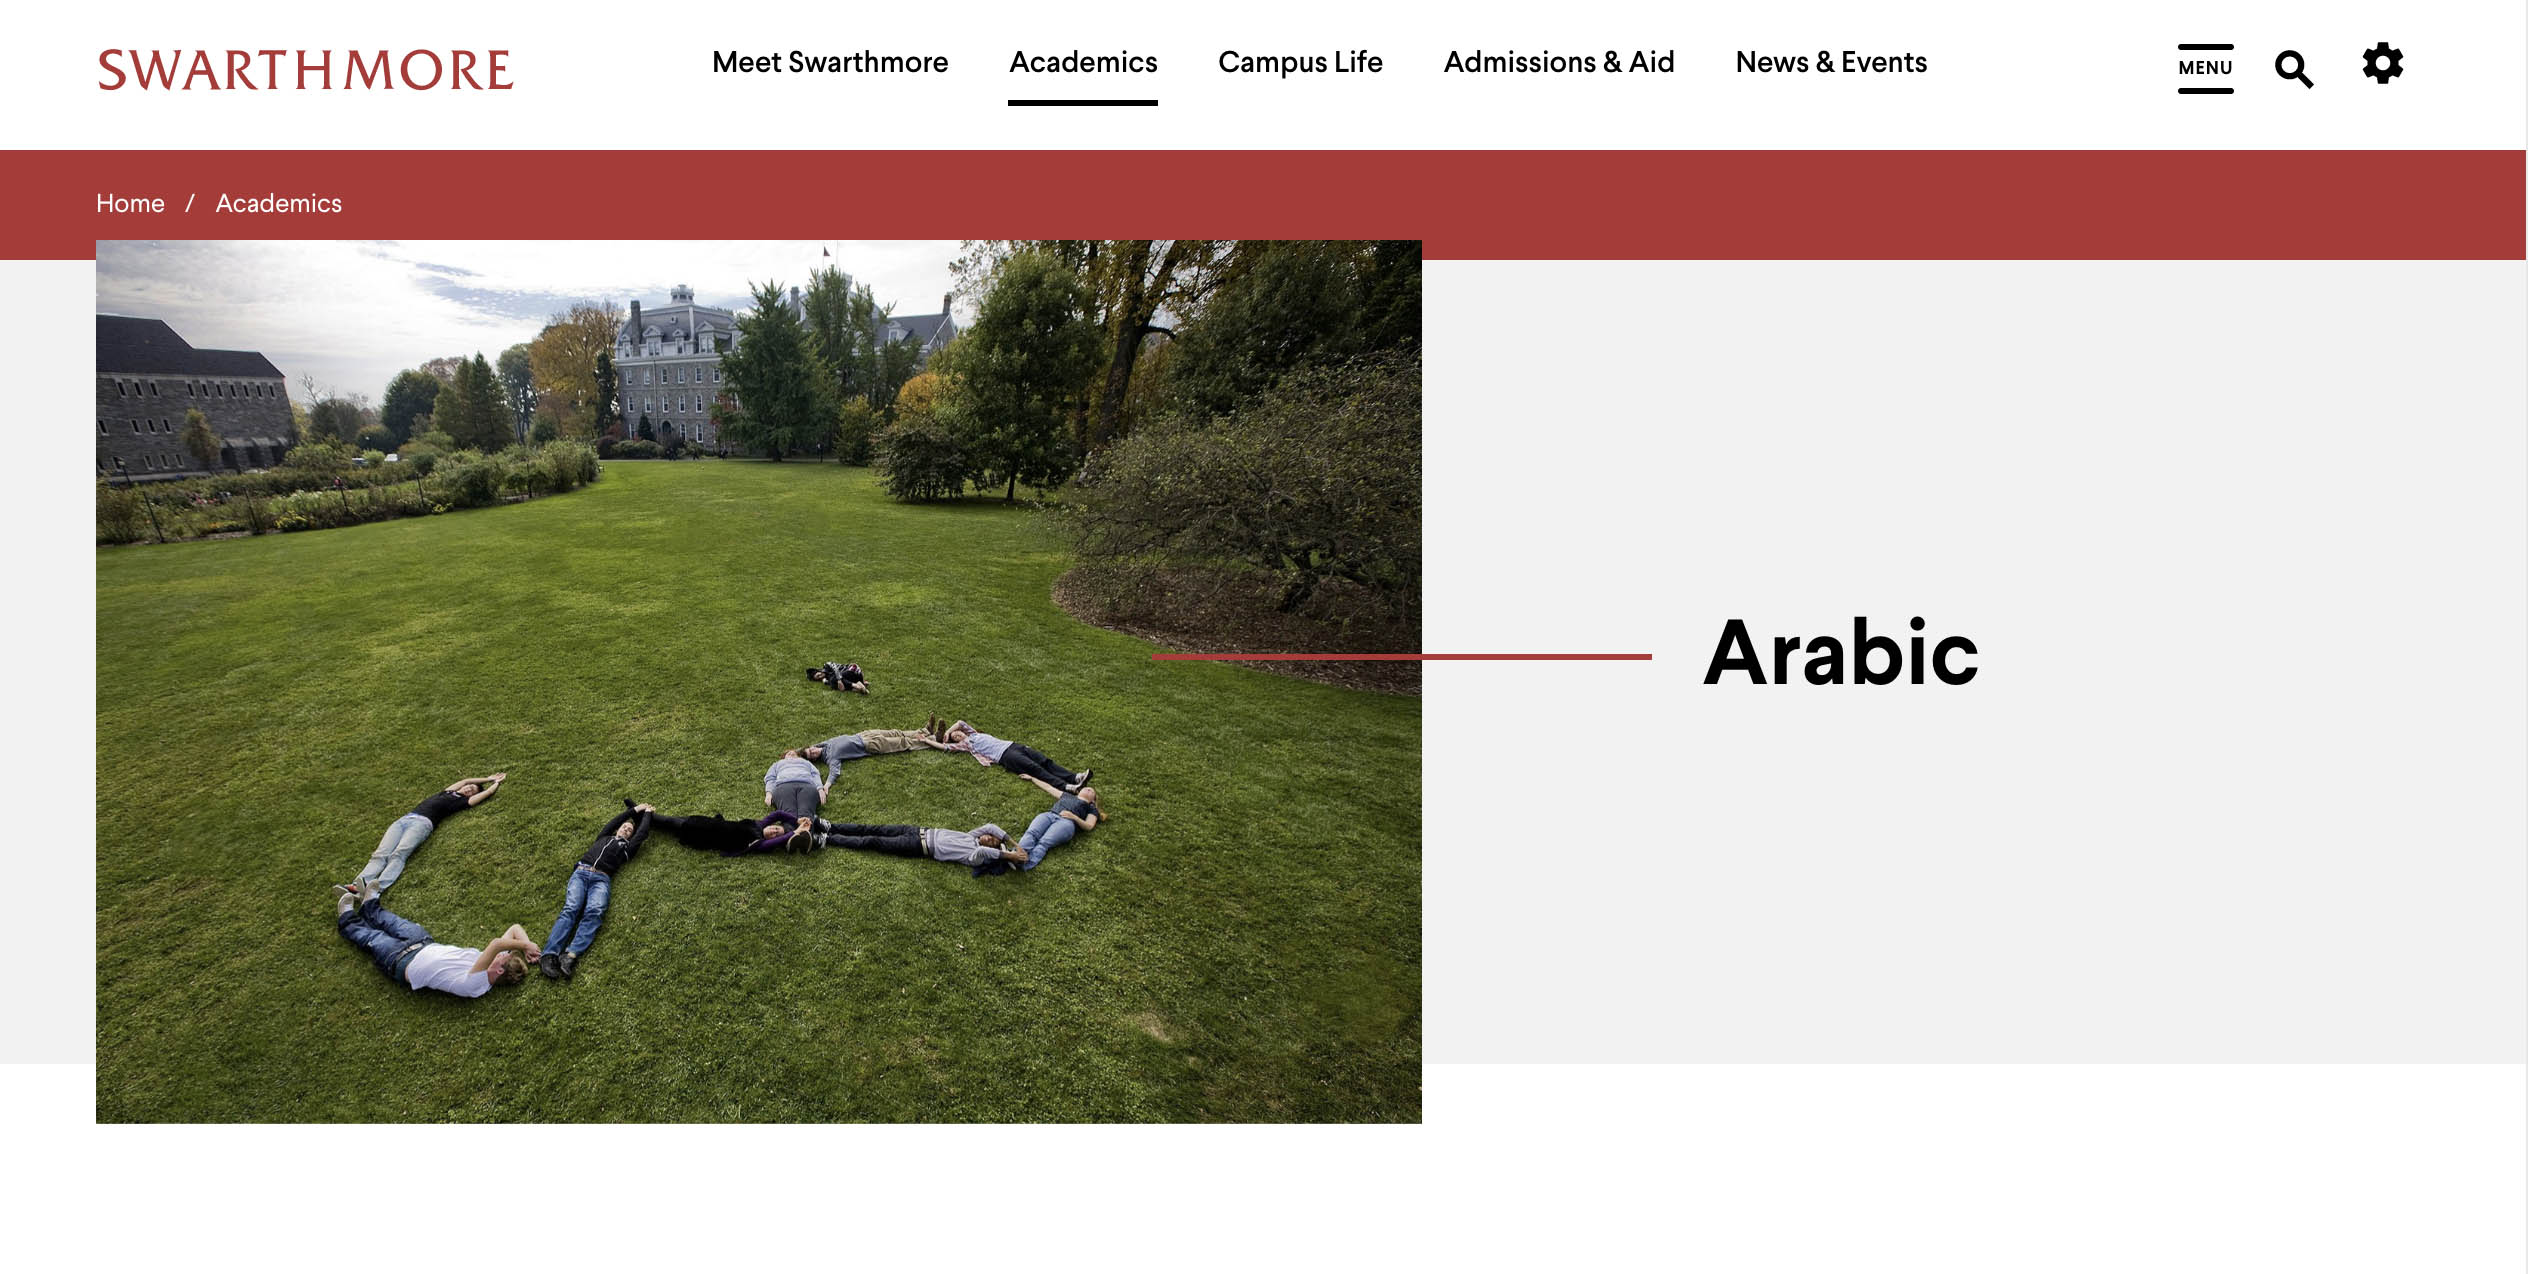
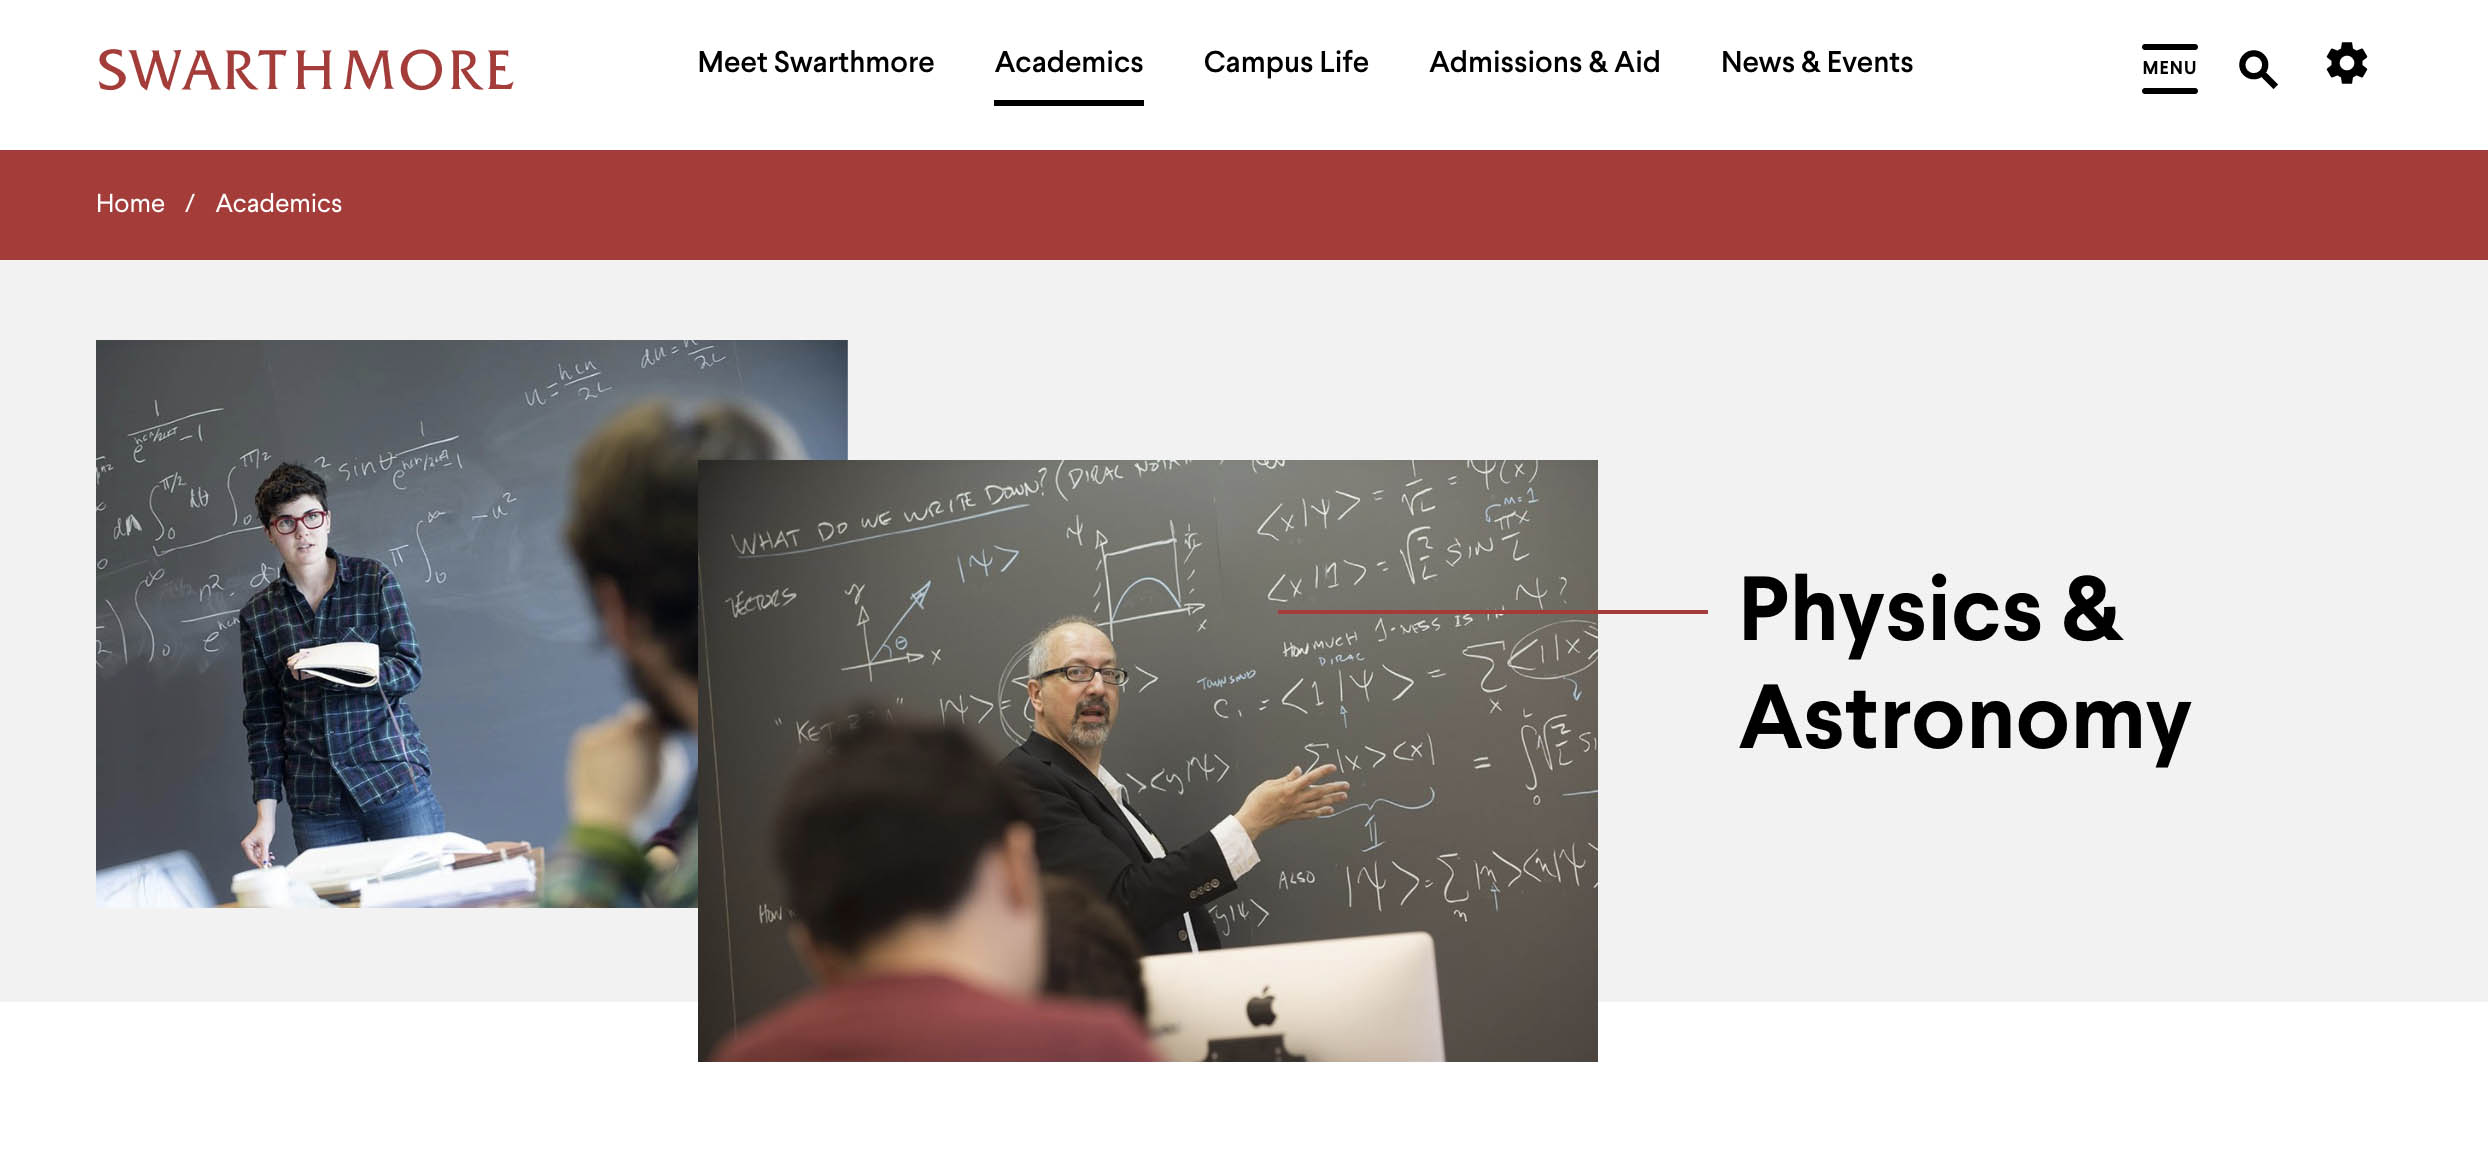
Learn more about alternate text.In the Image Alignment drop down You can choose the image alignment as either Centered Above Content or Floating Right.
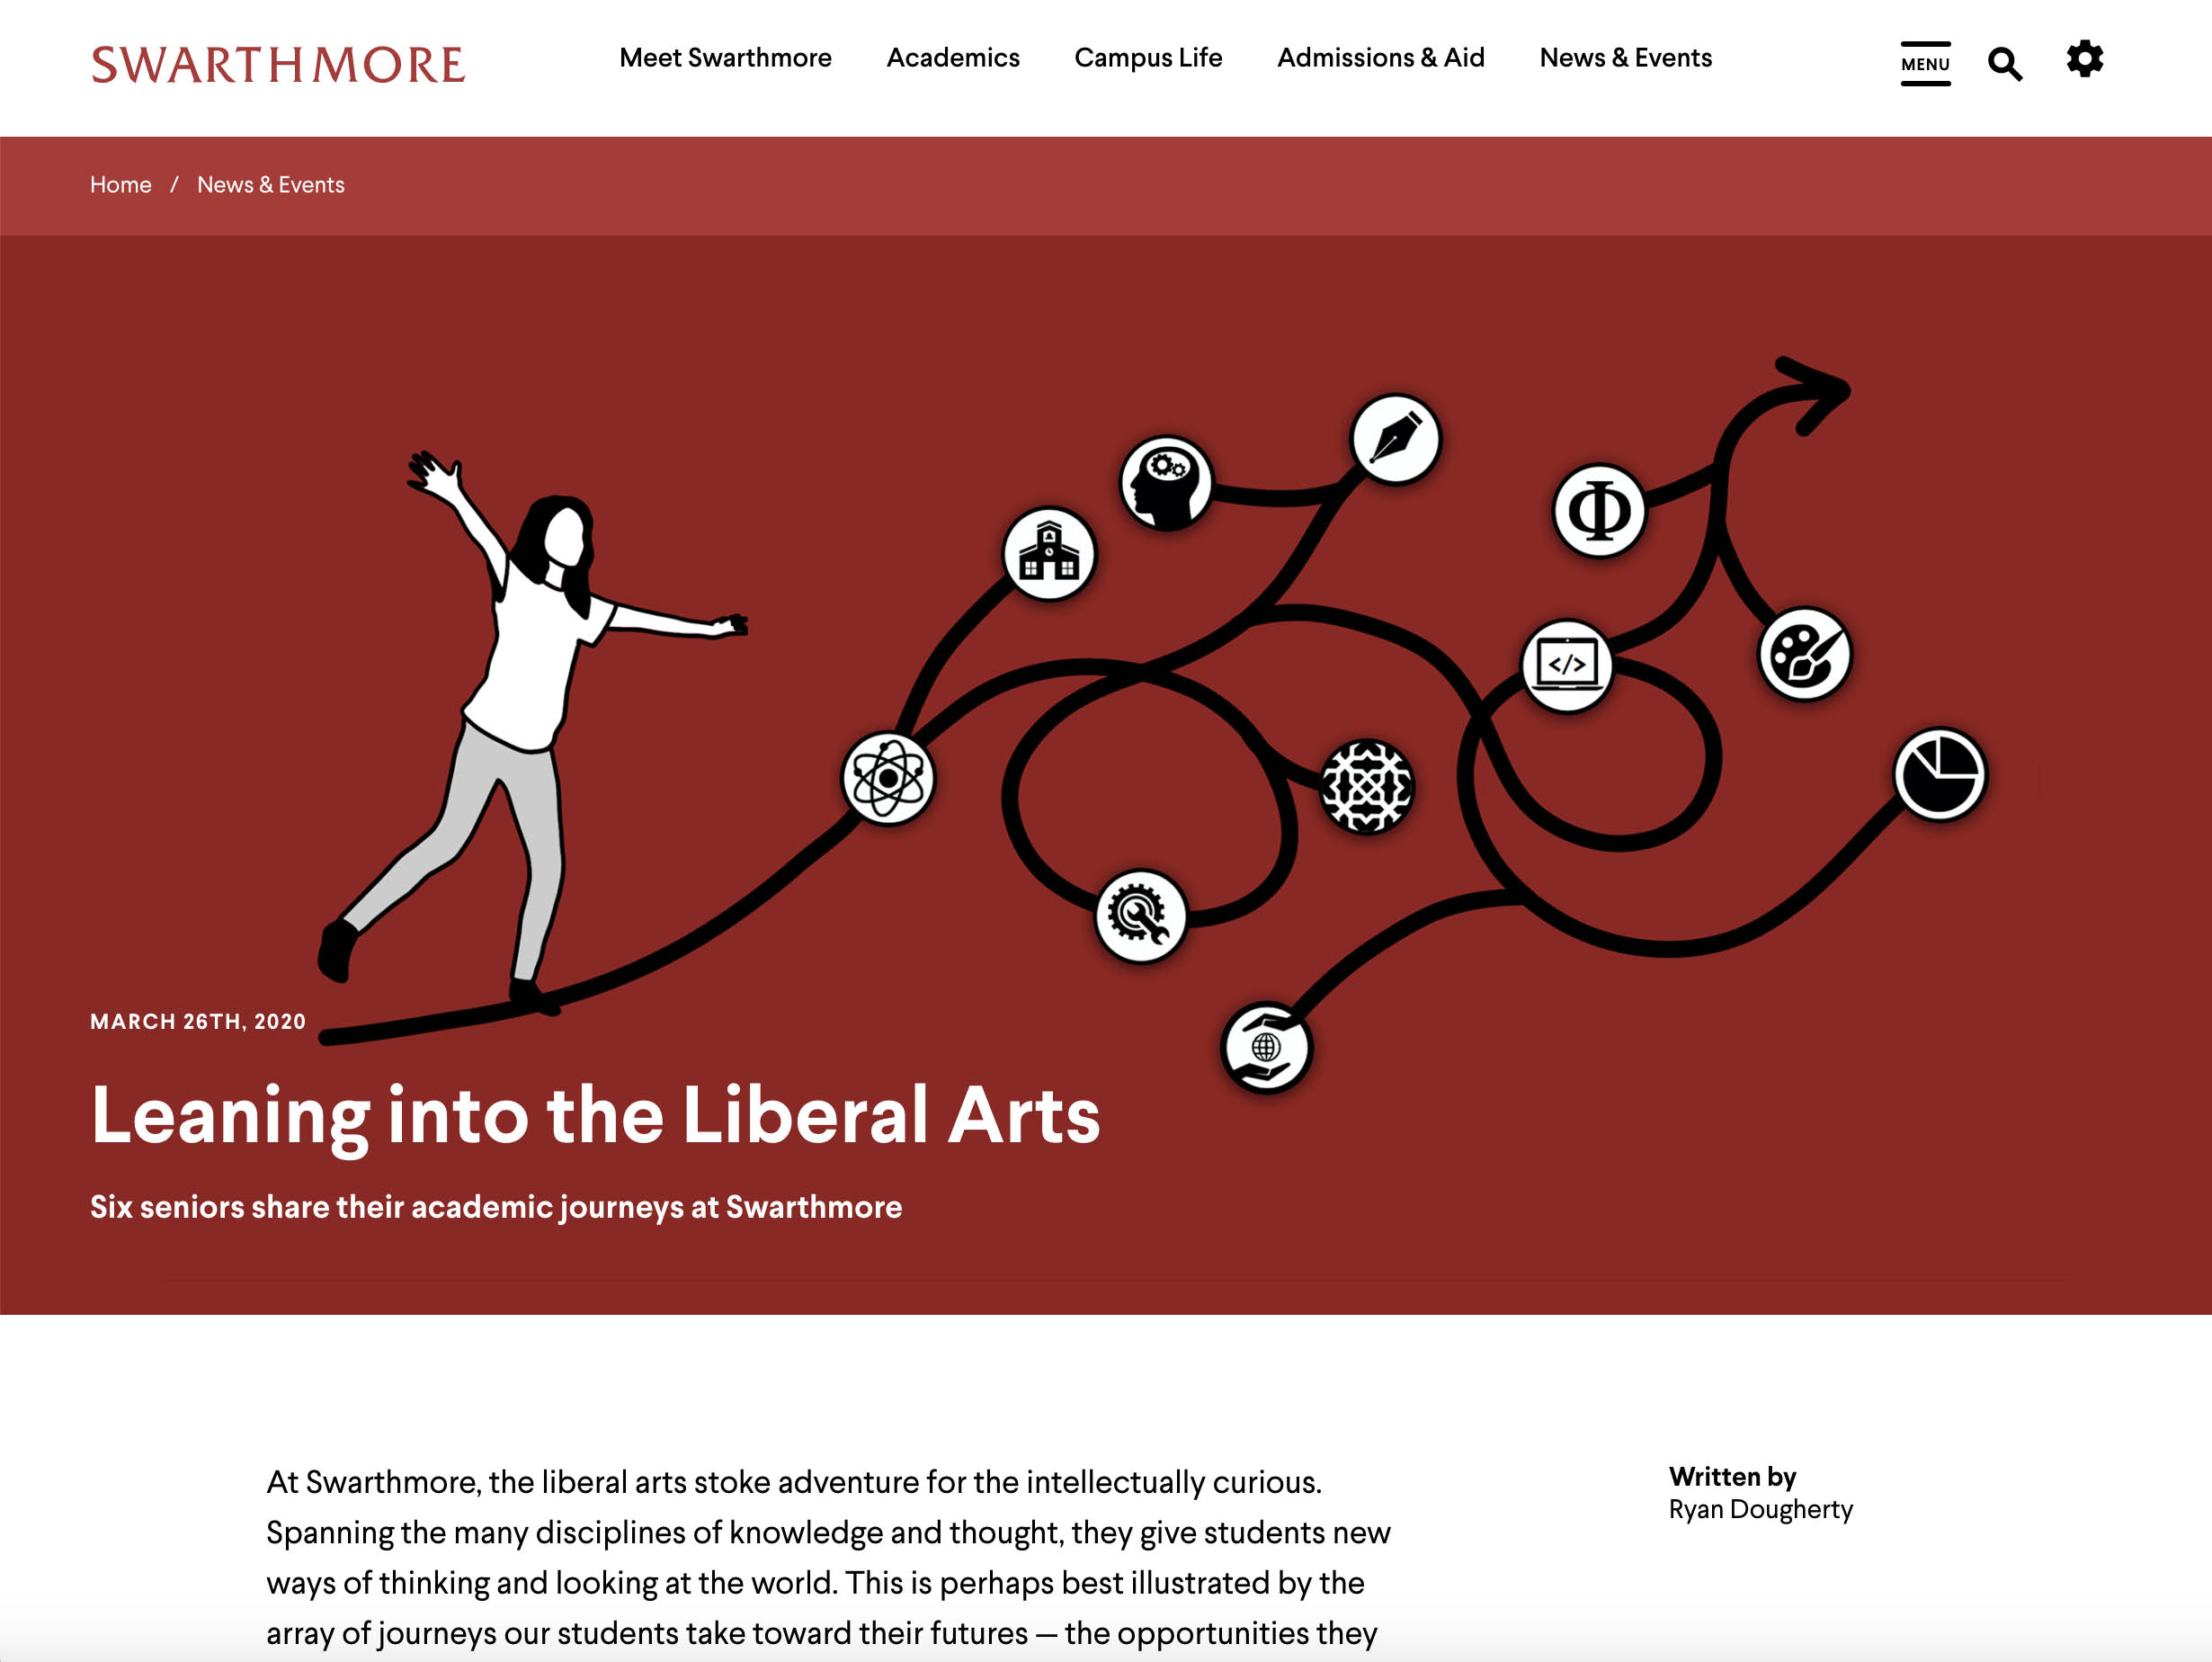
Centered Above Content - is for large landscape images. It will display the image followed by the text which will always appear below the image.
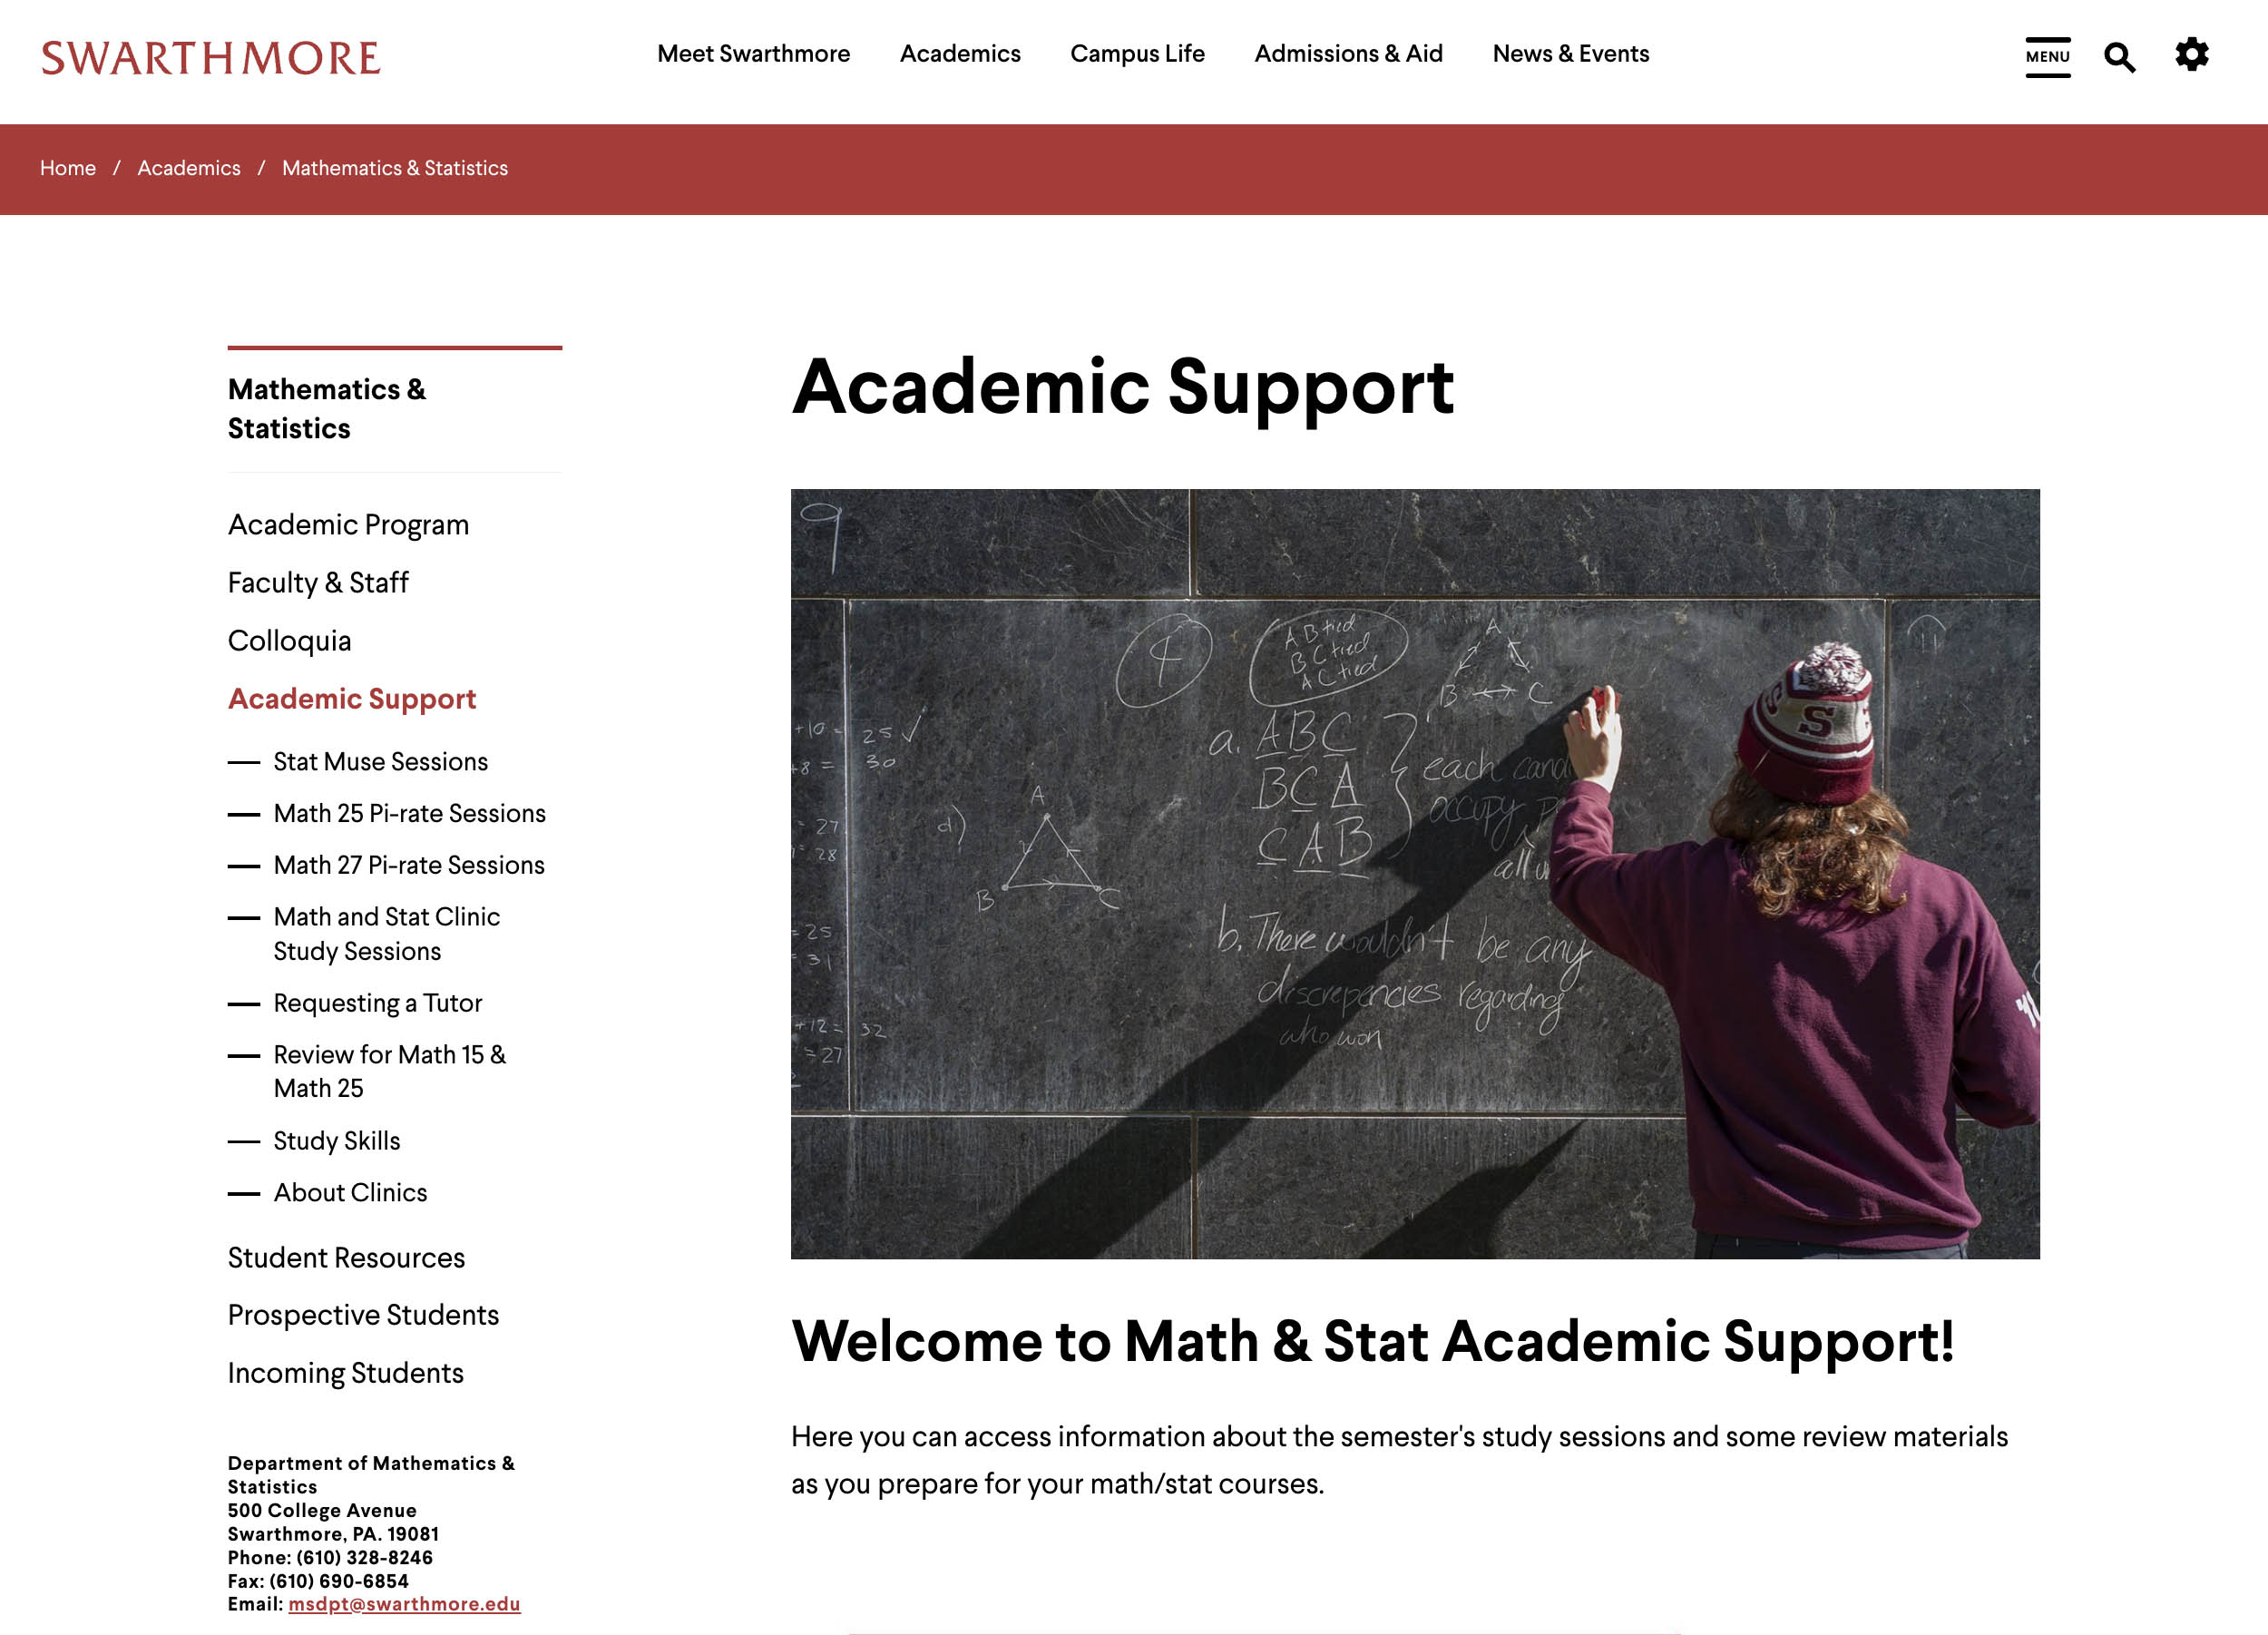
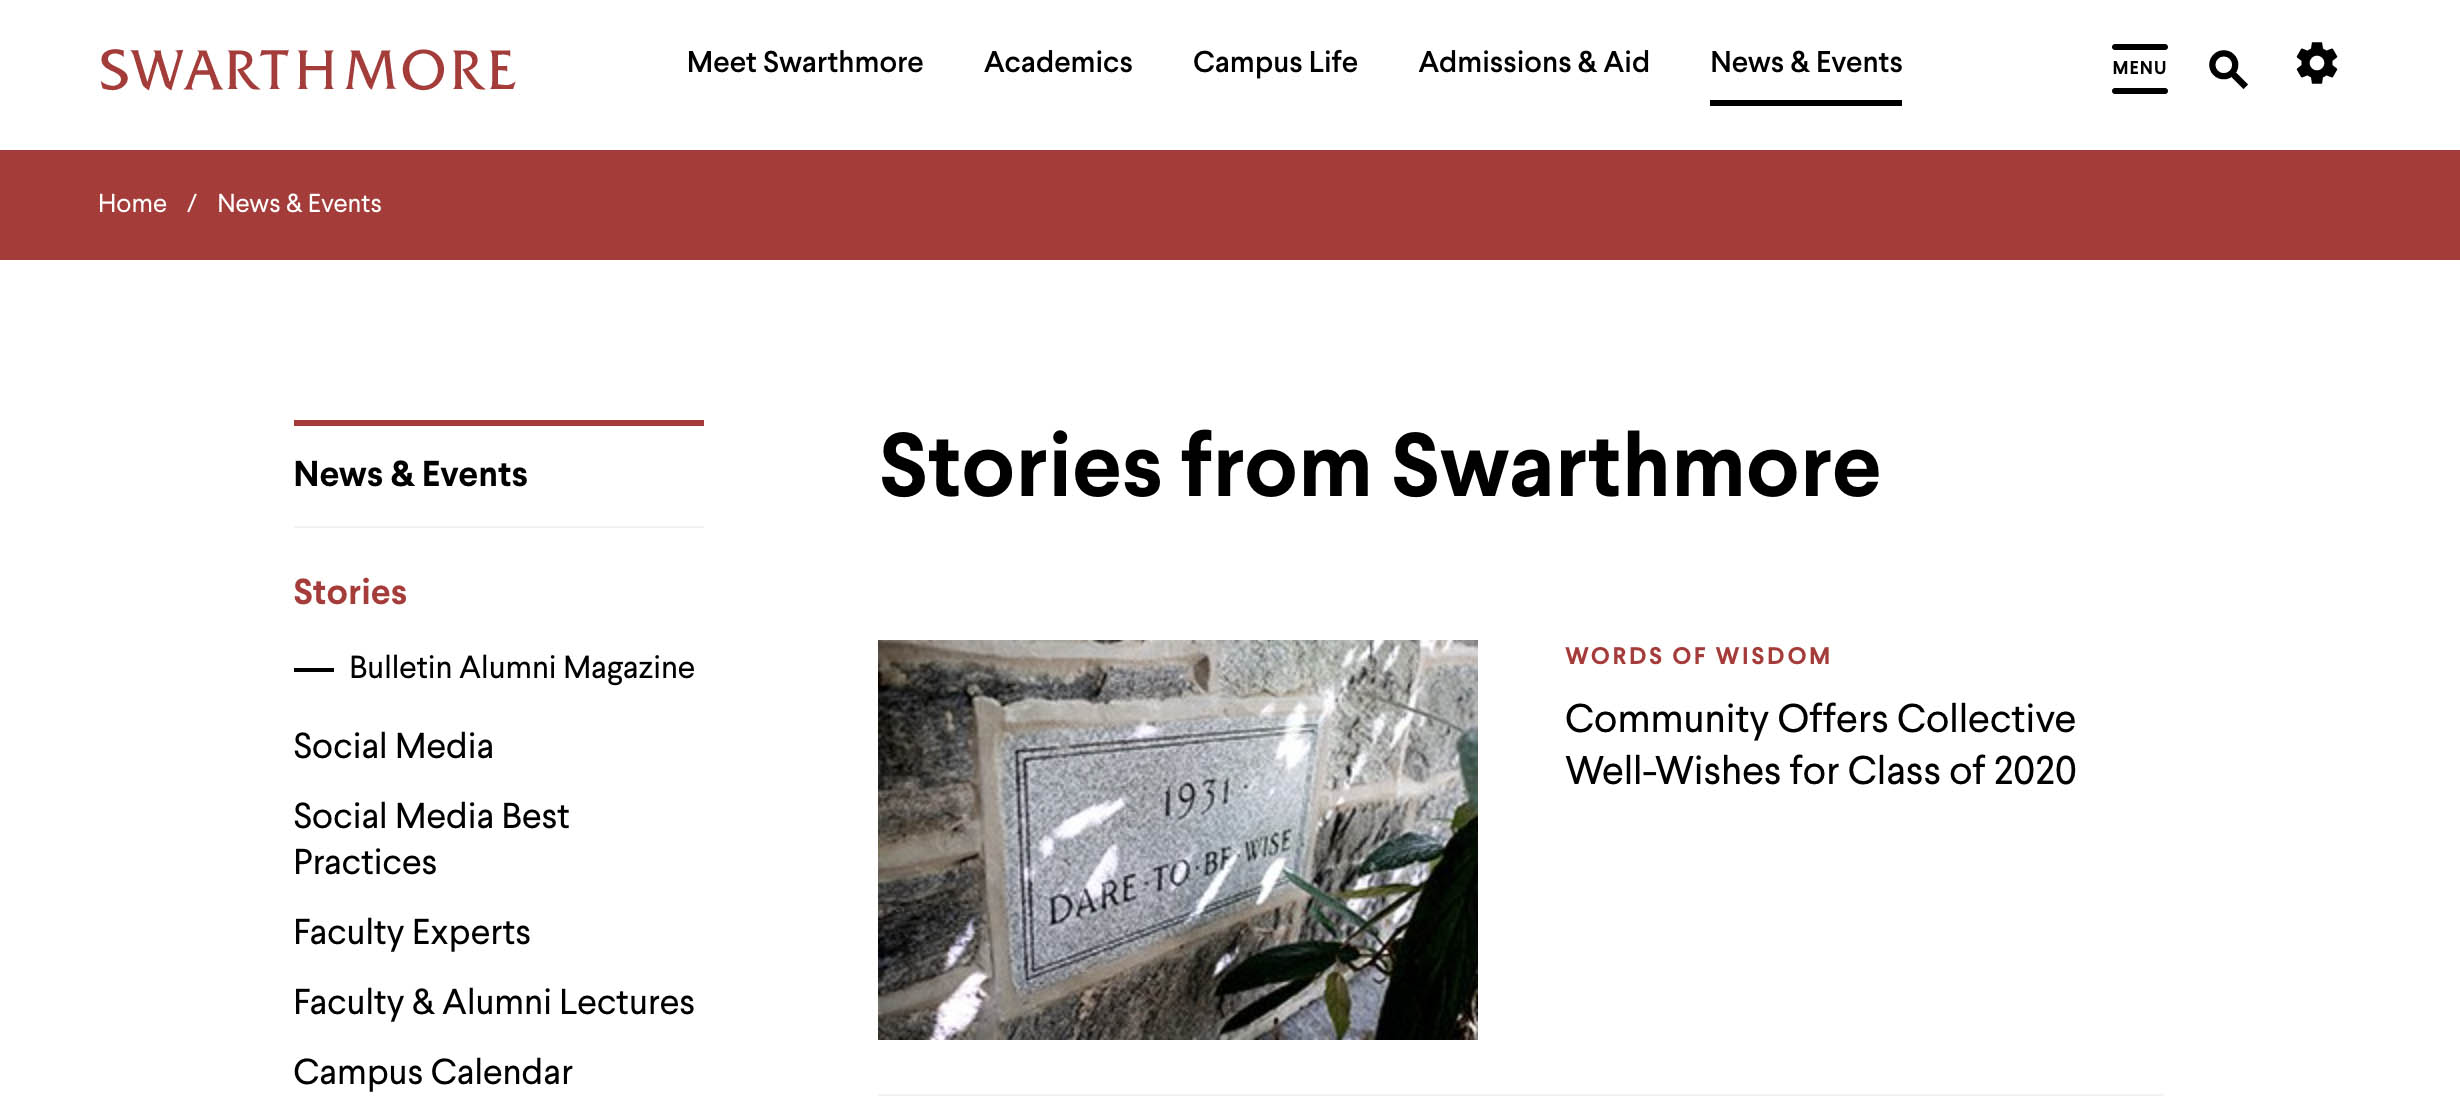
Floating Right - is often used for portrait/vertical images as well as smaller images. It will display the image to the right and the text in the Body block will wrap around the image. If the original image used is large landscape image, Drupal will automatically size it down 50% and wrap the text around it.
Centered Above Content

Floating Right

Add an optional image caption to provide further context about the image to readers.

6.2) Adding an Image in the Body Copy
Lorem ipsum dolor sit amet, consectetur adipiscing elit, sed do eiusmod tempor incididunt ut labore et dolore magna aliqua. Ut enim ad minim veniam, quis nostrud exercitation ullamco laboris nisi ut aliquip ex ea commodo consequat.
6.3) Homepage Images
6.3) Alt Text Requirement and Best Practices
Important Tip: Every image included on the website MUST include ALT text.
Alt Text is the written copy that appears in place of an image on a webpage if the image fails to load on a user's screen. This text helps screen-reading tools describe images to visually impaired readers.
6.4) Recommended Image Sizes
The following image style guide shows you the recommended image sizes that should be used.
Important Tip: All dimensions are in pixels (width x height). Photos should be saved in .jpg format using 70% compression.
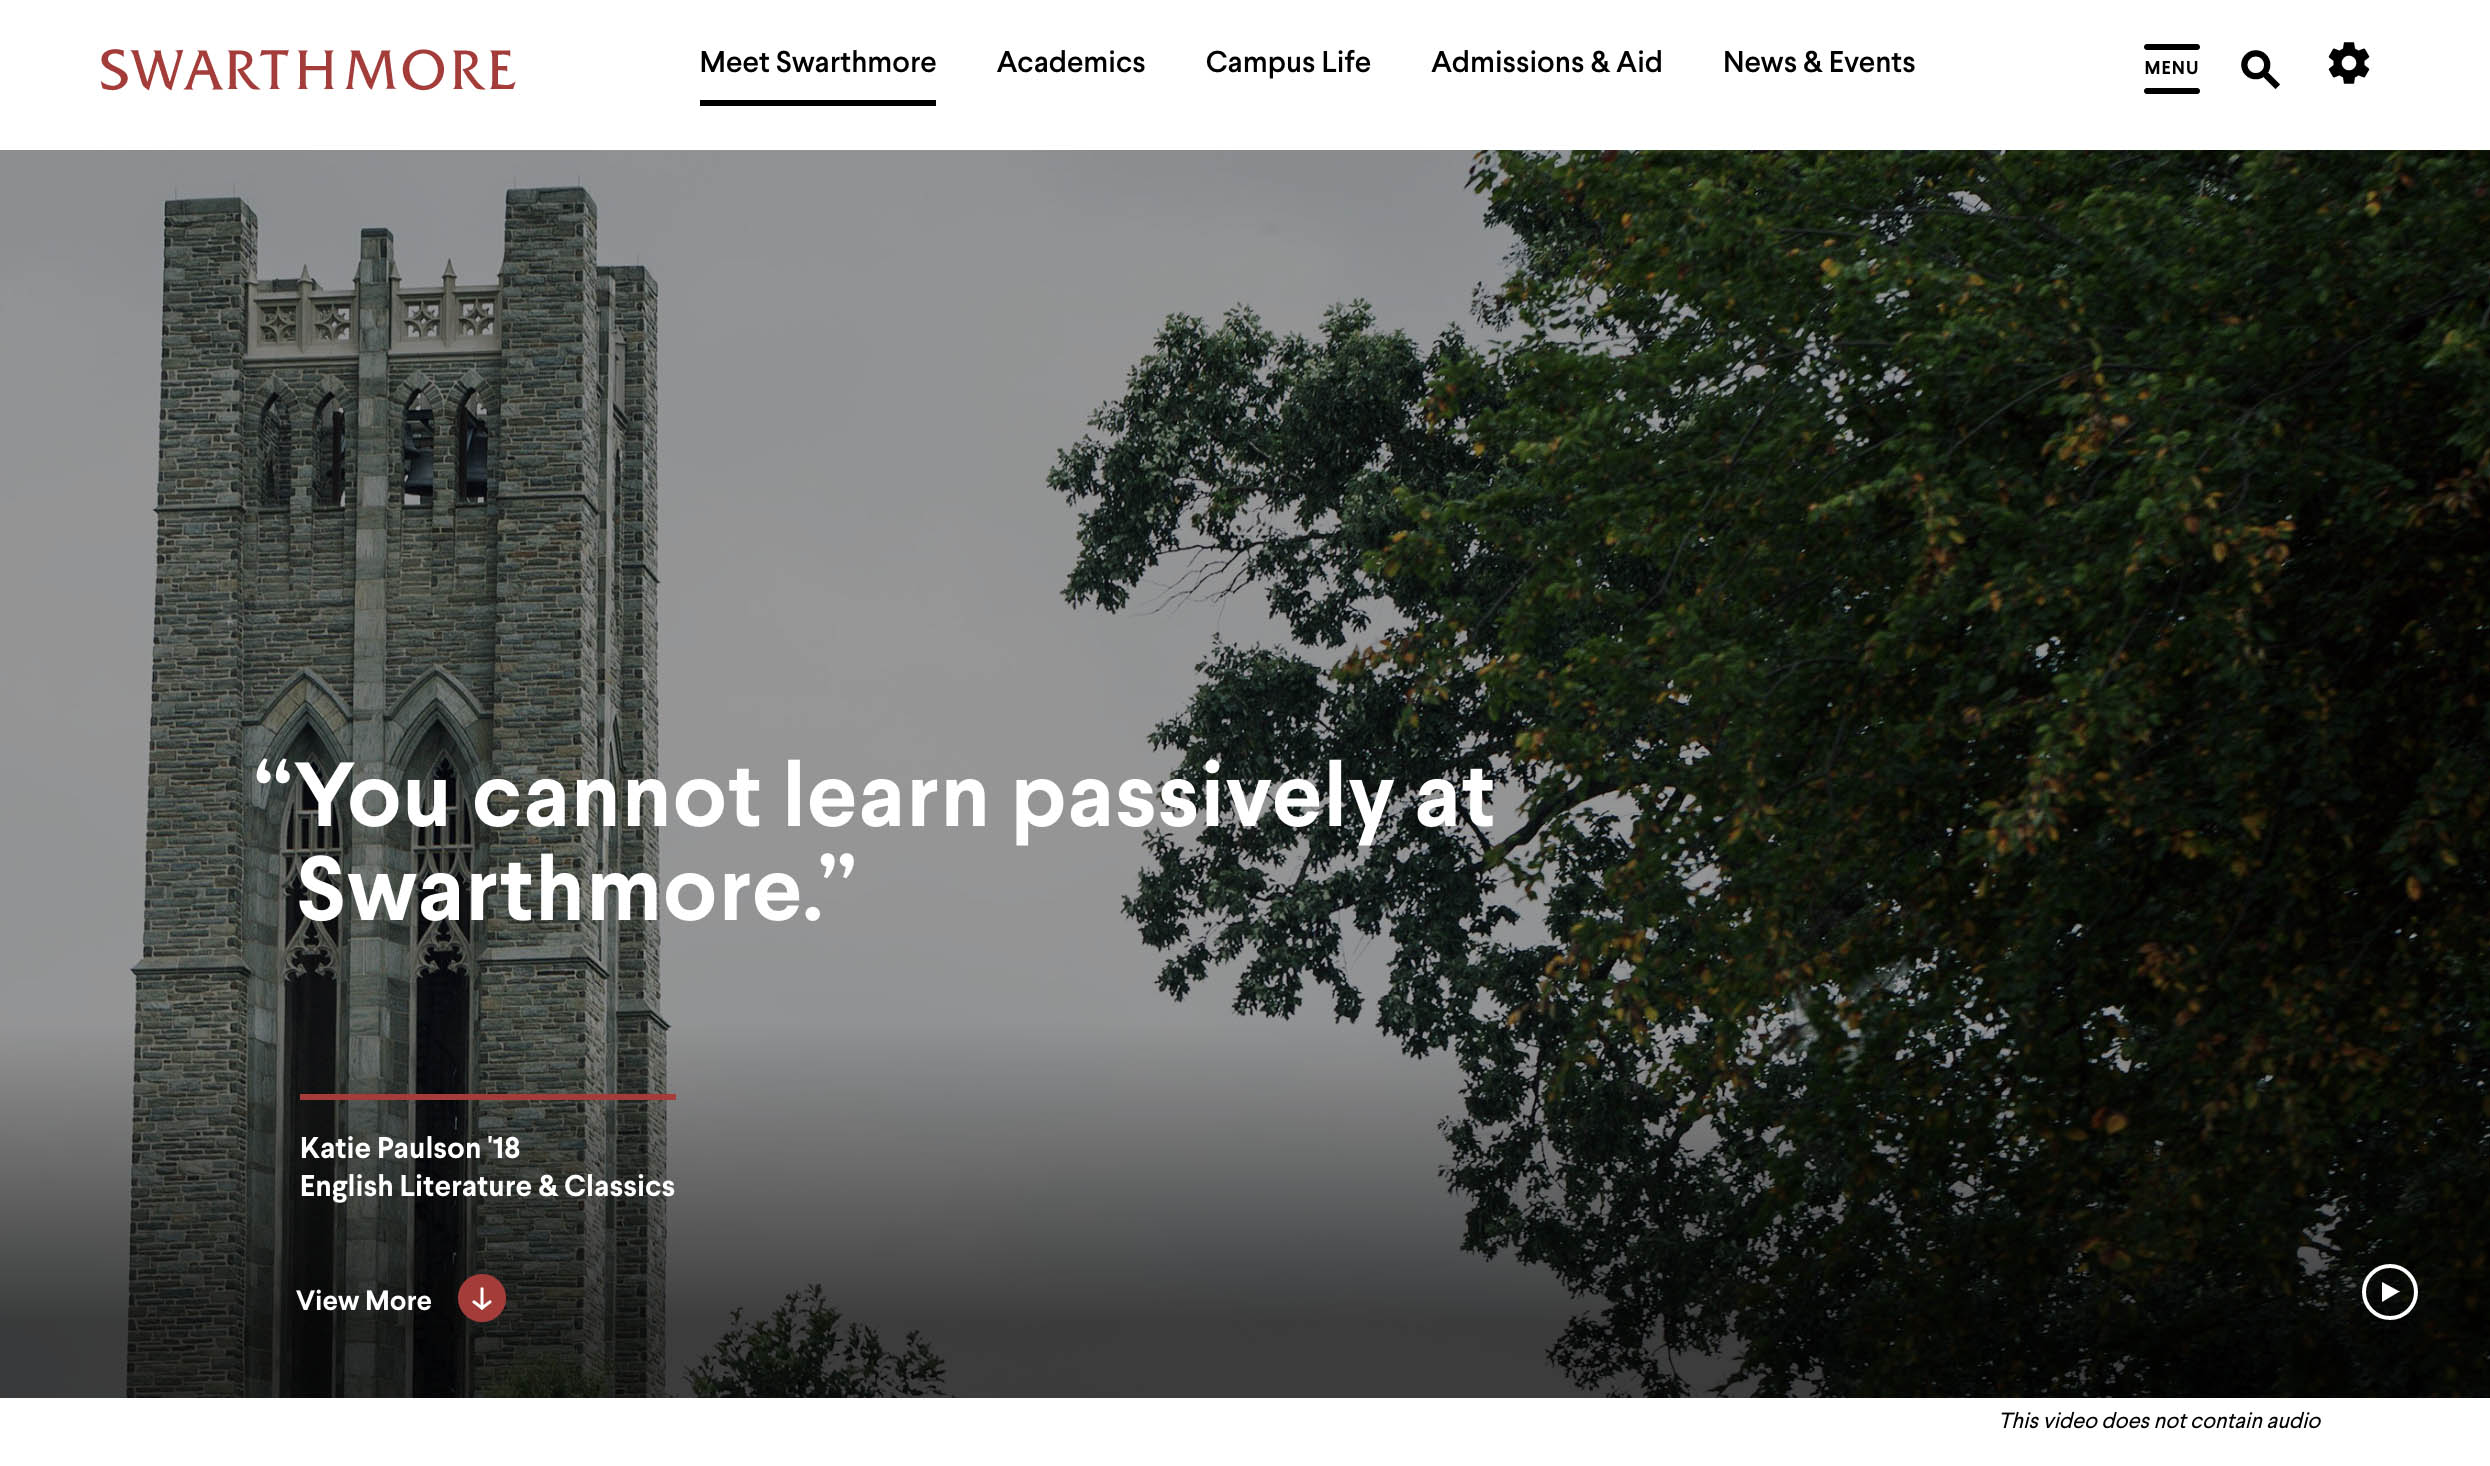
Recommended Sizes for Header Images
Image Type | Retina (WxH) | Standard (WxH) | Preferred Ratio | Preferred Orientation |
|---|---|---|---|---|
1756 x 1170 | 878 x 585 | 3:2, 16:9 | landscape | |
1056 x 704 | 528 x 352 | 3:2, 16:9 | landscape | |
880 x 662 | 440 x 331 | 3:2, 16:9 | landscape | |
3500 x 1360 | 1750 x 680 | custom | landscape | |
1524 x 940 | 762 x 470 | 3:2, 16:9 | landscape |
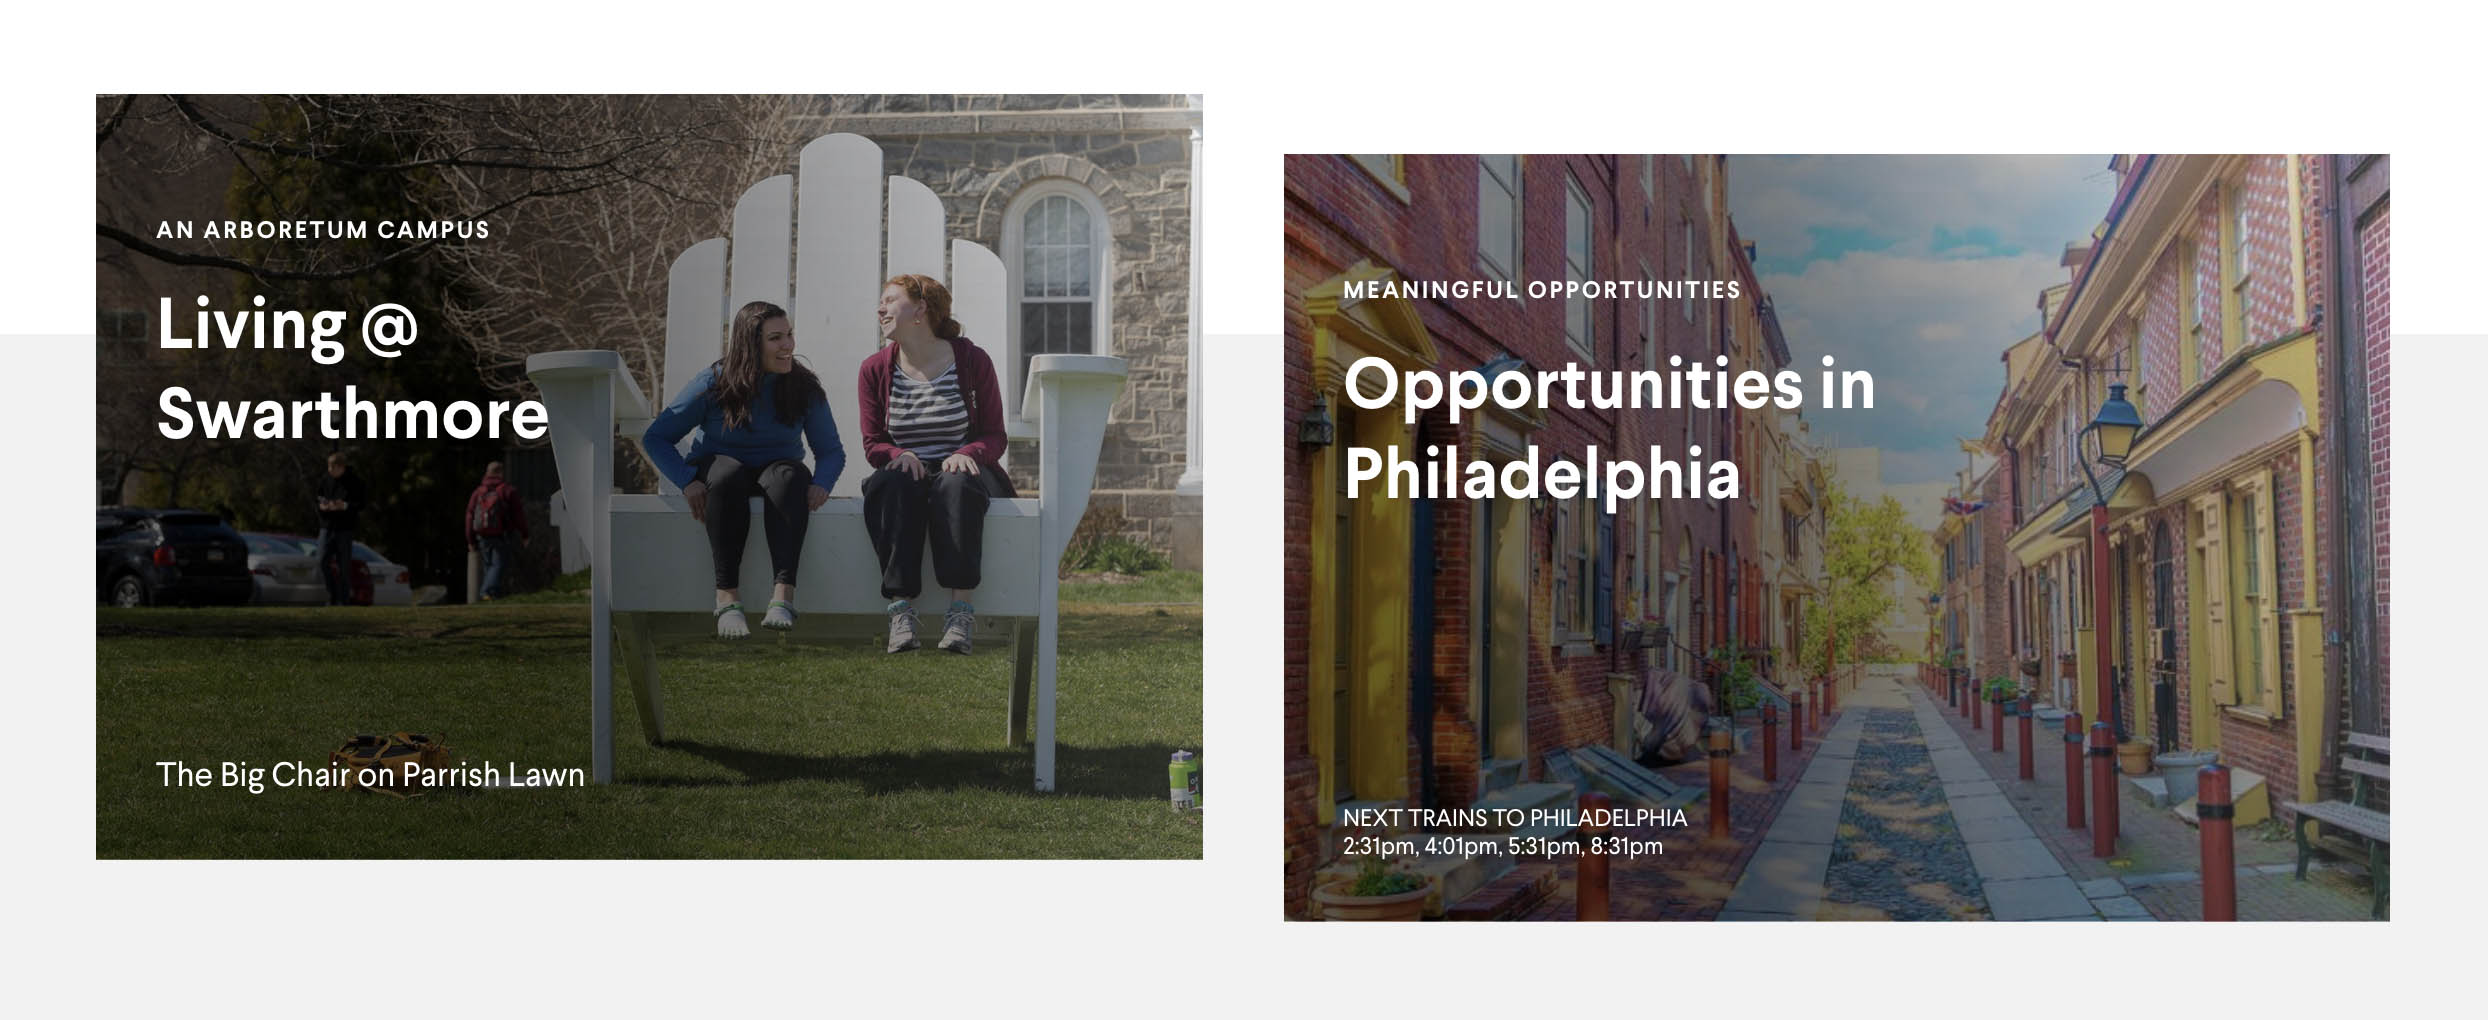
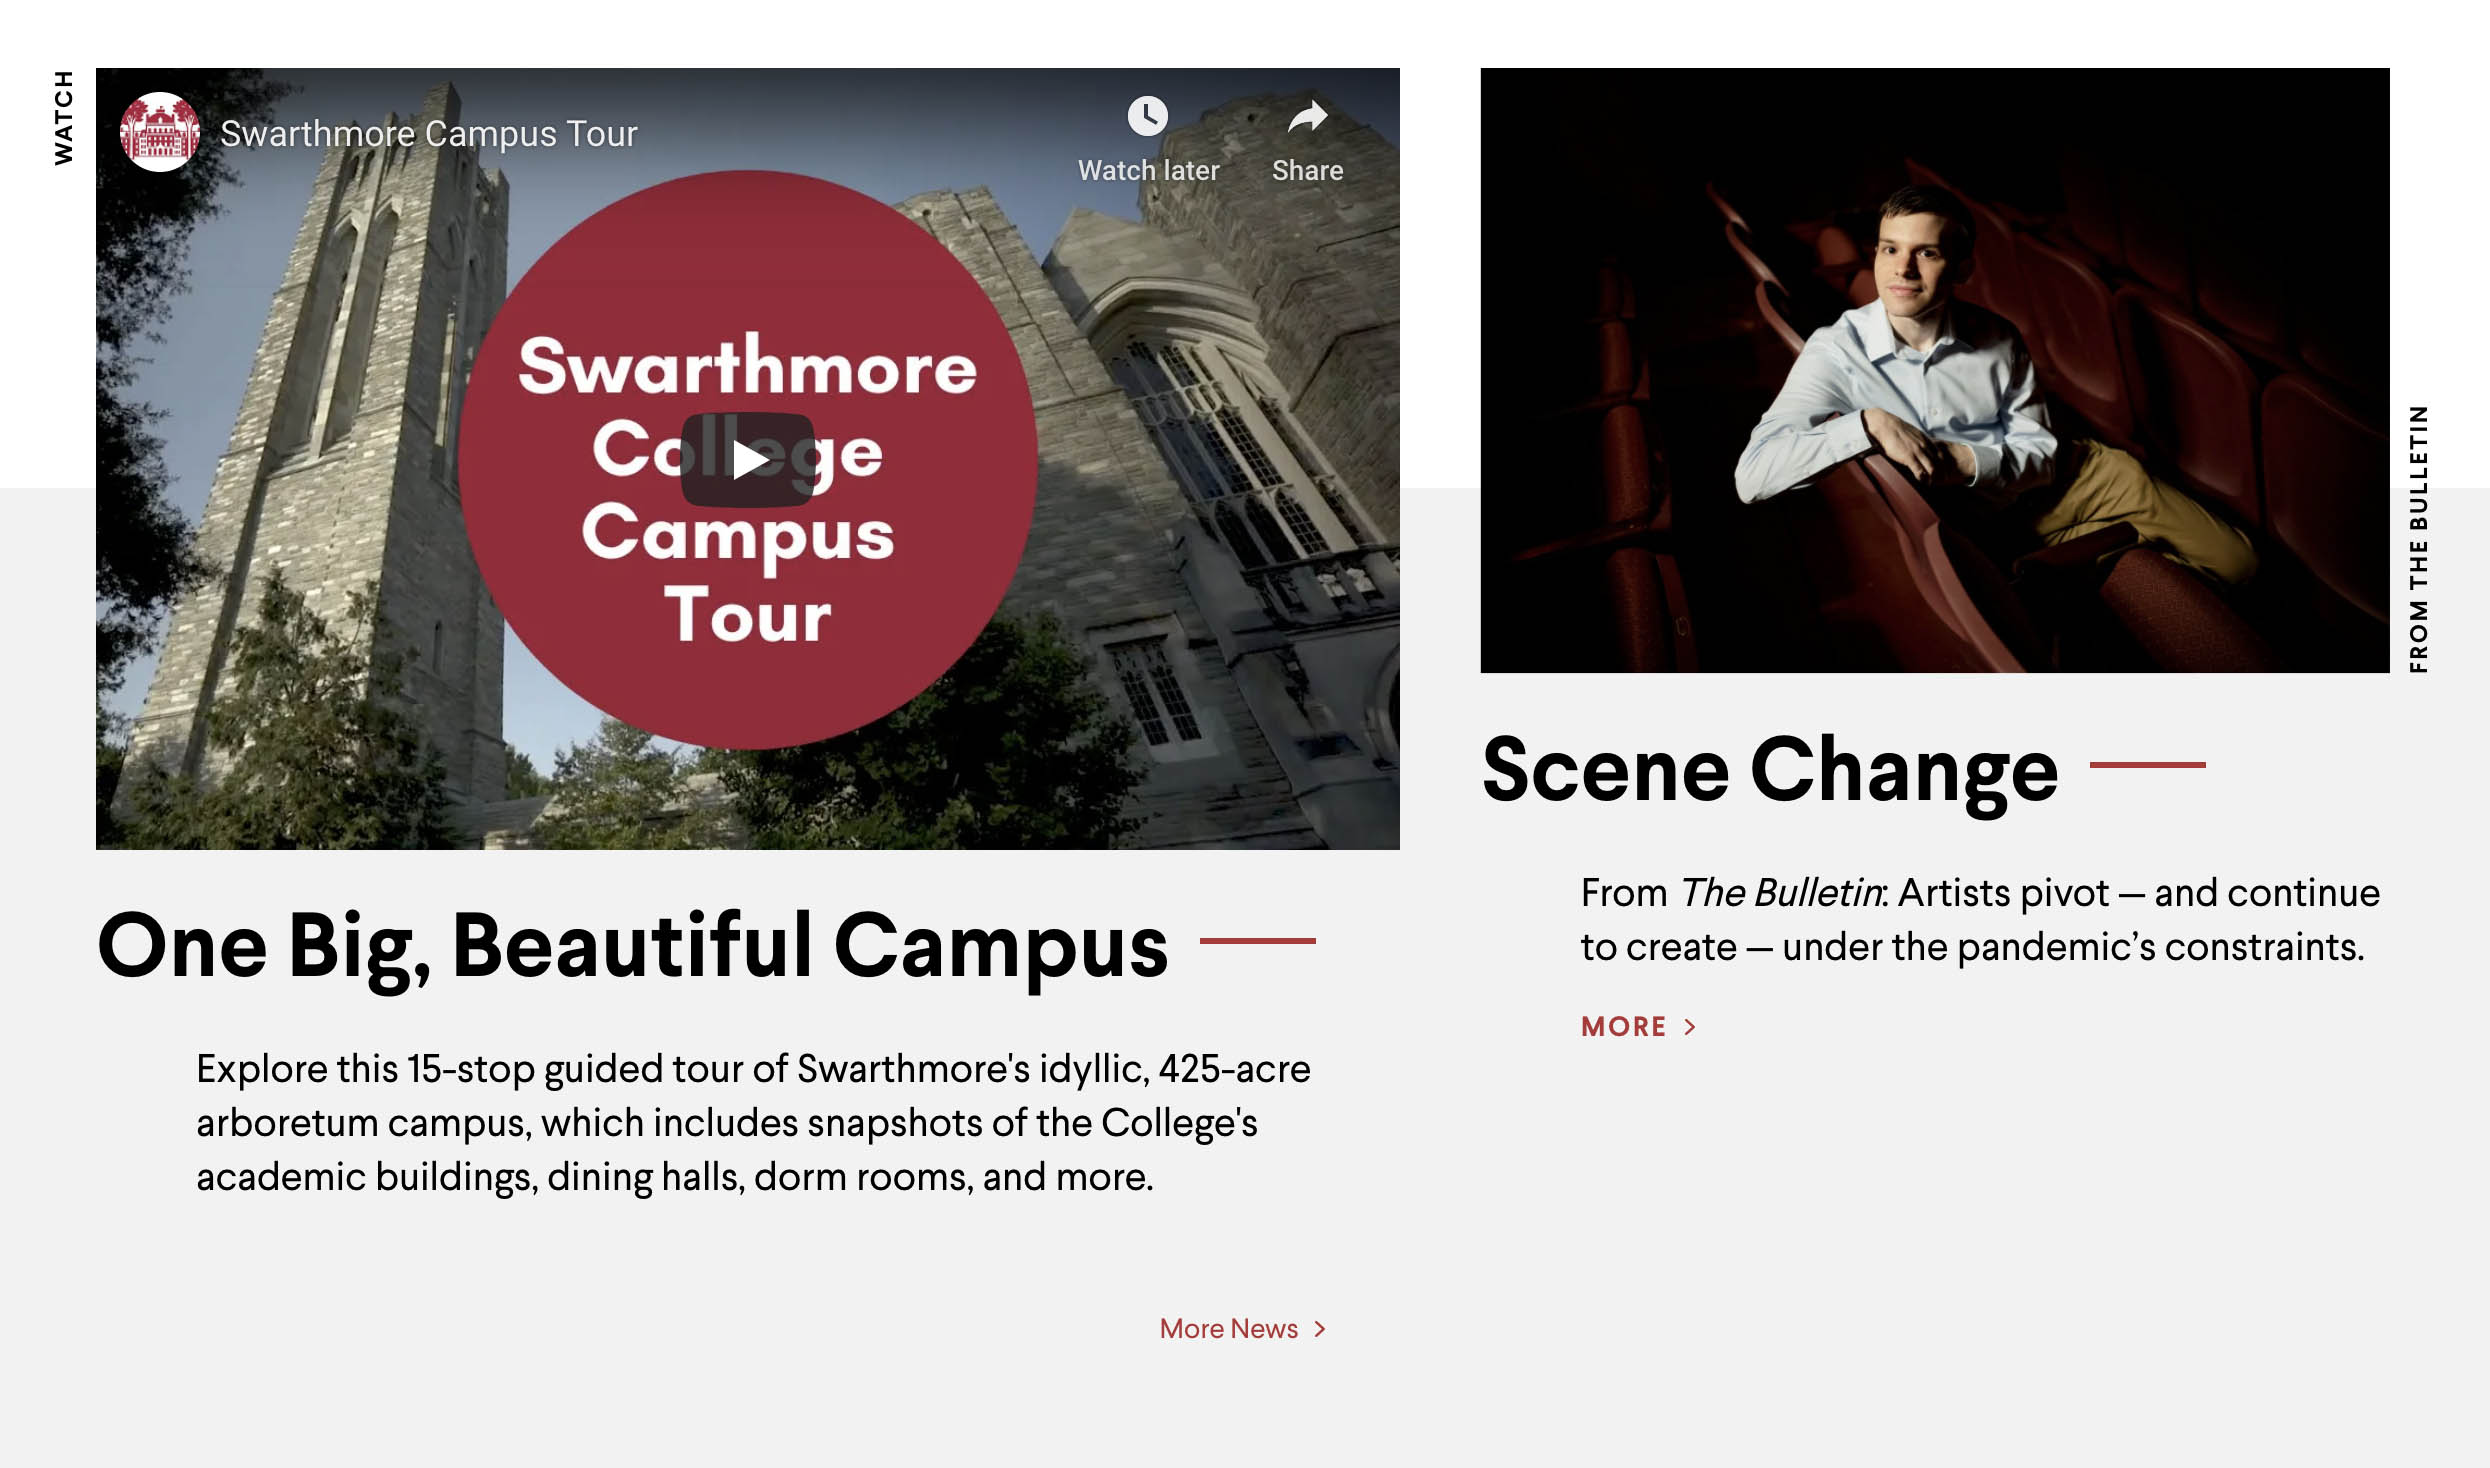
Recommended Sizes for Panes
Image Type | Retina (WxH) | Standard (WxH) | Preferred Ratio | Preferred Orientation |
|---|---|---|---|---|
1530 x 1046 | 765 x 523 | landscape | ||
1300 x 858 | 650 x 429 | landscape | ||
1600 x 1000 | 800 x 500 | 8:5 | landscape | |
720 x 476 | 360 x 238 | 16:9 | landscape | |
600 x 600 | 300 x 300 | 1:1 | landscape | |
1560 x 1040 | 780 x 520 | landscape | ||
3500 x 1240 | 1750 x 620 | custom | landscape | |
1300 x 900 | 650 x 450 | 3:2, 16:9 | landscape | |
1530 x 1046 | 765 x 523 | 3:2 | landscape | |
1070 x 698 | 535 x 349 | 3:2 | landscape | |
298 x 298 | 149 x 149 | 1:1 | square | |
3500 x 1464 | 1750 x 732 | custom | landscape |
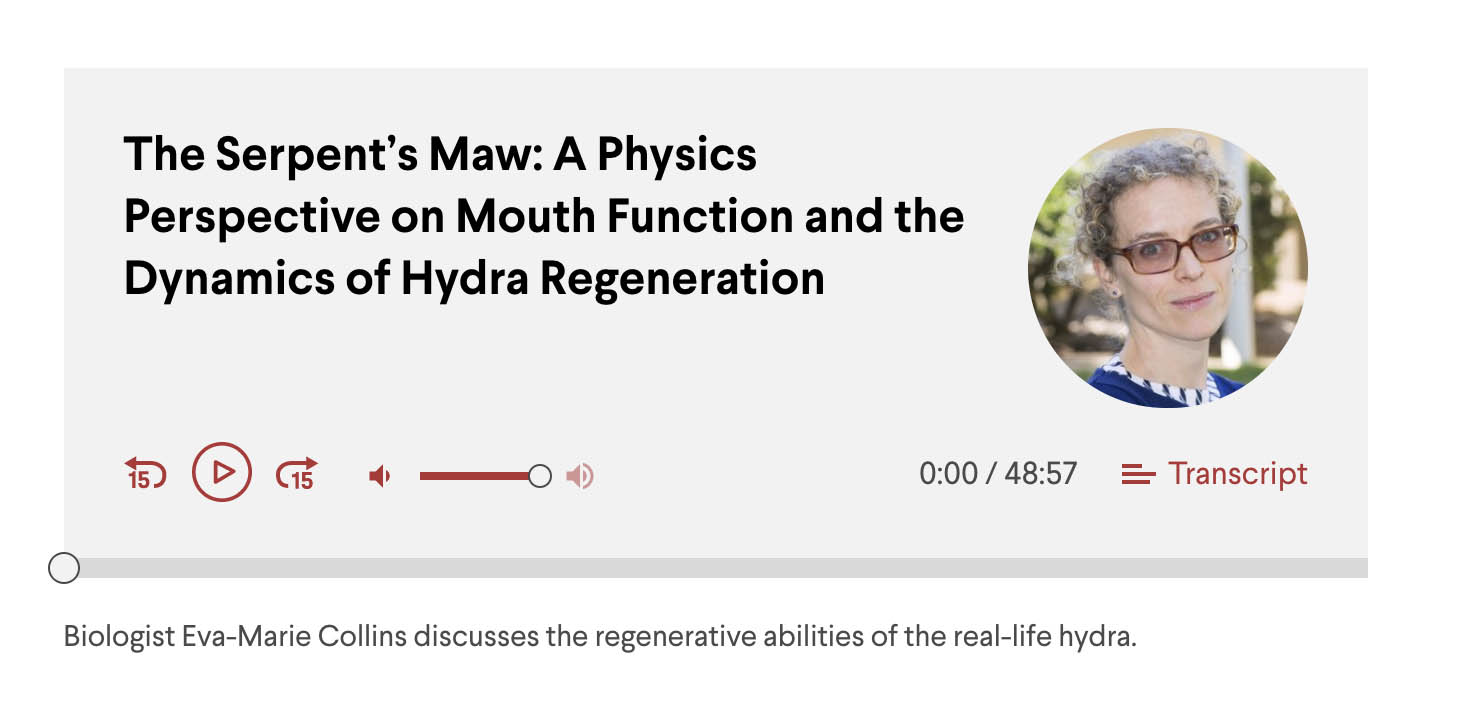
Recommended Sizes for Profiles
Image Type | Retina (WxH) | Standard (WxH) | Preferred Ratio | Preferred Orientation |
|---|---|---|---|---|
372 x 466 | 186 x 233 | 4:5 | portrait |
Recommended Sizes for News and Events Pages & Thumbnails
Image Type | Retina (WxH) | Standard (WxH) | Preferred Ratio | Preferred Orientation |
|---|---|---|---|---|
- | - | - | - | |
2880 x 1266 | 1440 x 633 | 16:9, 3:2 | landscape | |
News Feed Pane (Standard Thumbnail) | 560 x 320 | 280 x 160 | 16:9, 3:2 | landscape |
News Feed Pane (Featured Thumbnail) | 1760 x 960 | 880 x 480 | 16:9, 3:2 | landscape |
840 x 480 | 420 x 240 | 16:9, 3:2 | landscape | |
Events Feed Pane (Thumbnail) | 840 x 532 | 420 x 335 | 16:9, 3:2 | landscape |
Events Feed Pane (Full Page Listing) | 840 x 670 | 420 x 335 | 16:9, 3:1 | landscape |